 Invoice Autopilot
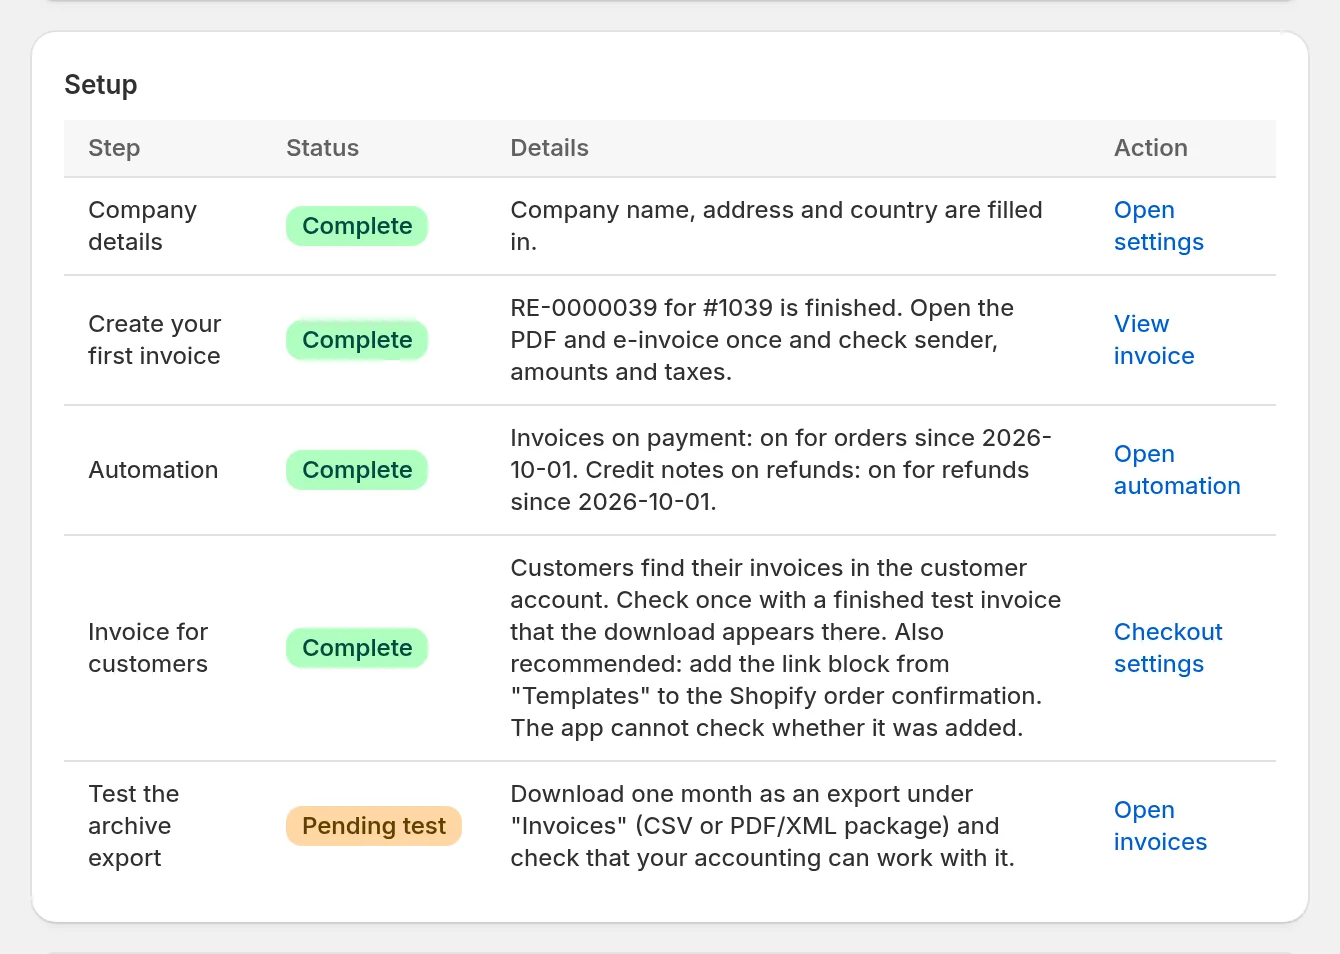
Invoice Autopilot turns your Shopify orders into invoices and credit notes as PDFs with an embedded e-invoice. Setup usually takes only a few minutes. The app’s Overview always shows which step is still missing.
1. Install the app and choose a plan
Install the app from the Shopify App Store and choose a plan. Billing runs through your Shopify invoice. Every finished invoice and every credit note counts as a document; previews and downloads do not. More under Plans and billing.
2. Add your company details
Open Settings › Company and tax details and enter your company name, address, country and tax number or VAT ID. While something is missing, the app shows it at the top under Still to do and creates no invoice. Details: Company and tax.
3. Create your first invoice by hand
Go to Invoices, enter a paid test order under Review a Shopify order and click Load order. You see the invoice preview with every line, VAT rate and total – still without an invoice number. If everything is right, click Create invoice. Then open the PDF and the e-invoice (XML) once.
4. Turn on automation
Under Settings › Automatic documents you let the app create invoices on payment and credit notes on refund by itself. Turn on from today does that in one step. Start dates, filters and exceptions are explained under Automation.
5. Invoice for customers and archive
- Customers: customers find their invoices in the new customer accounts. We also recommend the invoice link in the order confirmation. See Customer account and invoice link.
- Archive: download one month as an export and check that your accounting can work with it. See Export and archive.
After that, the overview shows Complete for every step.